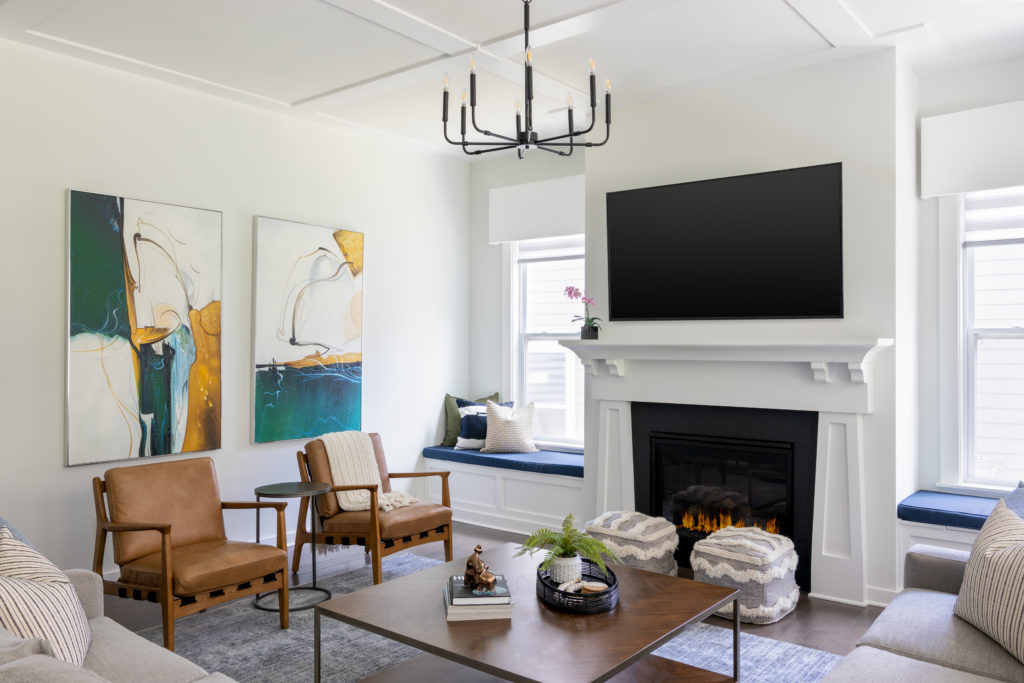
If you’re a Real Estate Agent, you know the value of photography when it comes to selling your listings. A lot of times it comes down to you to make sure the right angles are captured and the lighting is just right. But let’s be real, just because you need a good picture, doesn’t mean you’re a pro at photography. Wouldn’t that be amazing if it worked that way?
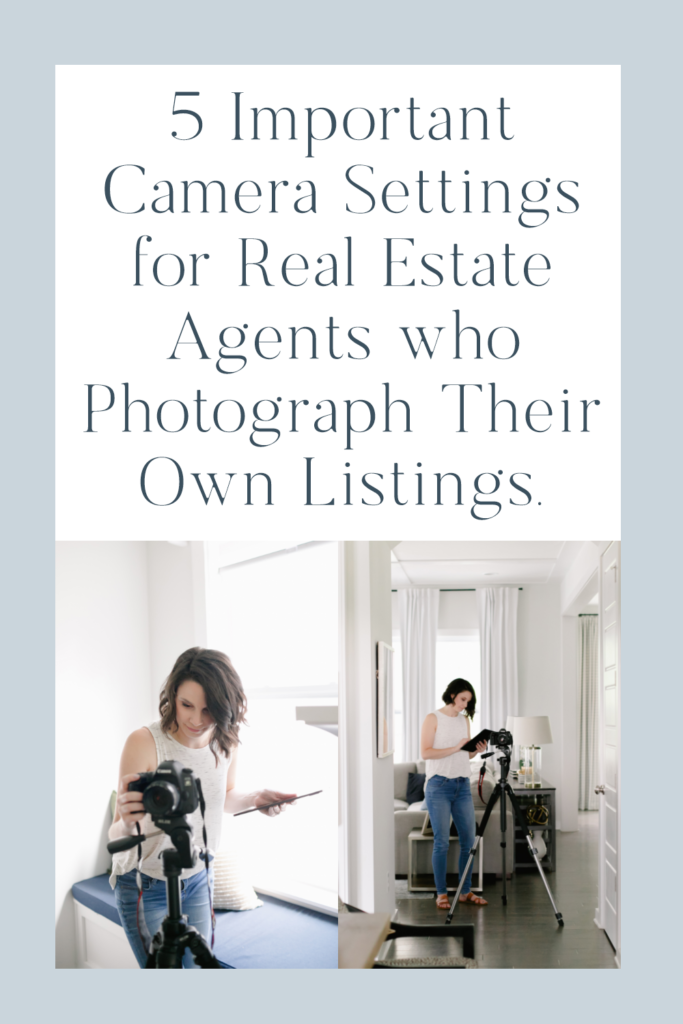
The good news is, there are a few settings you can fix on your camera to get you heads above the competition and I’m here to outline them for you. We’re going to talk about Aperture, ISO, Shutter Delay, White Balance, and Shooting Modes. If those all sound like greek terms, stick with me. I’ll outline what they do and how they can make your images ten times better and then I’ll share my camera setting cheat sheet for realtors!
Aperture
I want to start with what I believe is THE MOST IMPORTANT SETTING when you are photographing any type of architecture. That setting is called Aperture. Aperture is the setting that controls your camera’s depth of field. It is represented by “f stops” and looks like this: f8, f1.4, f22, etc.
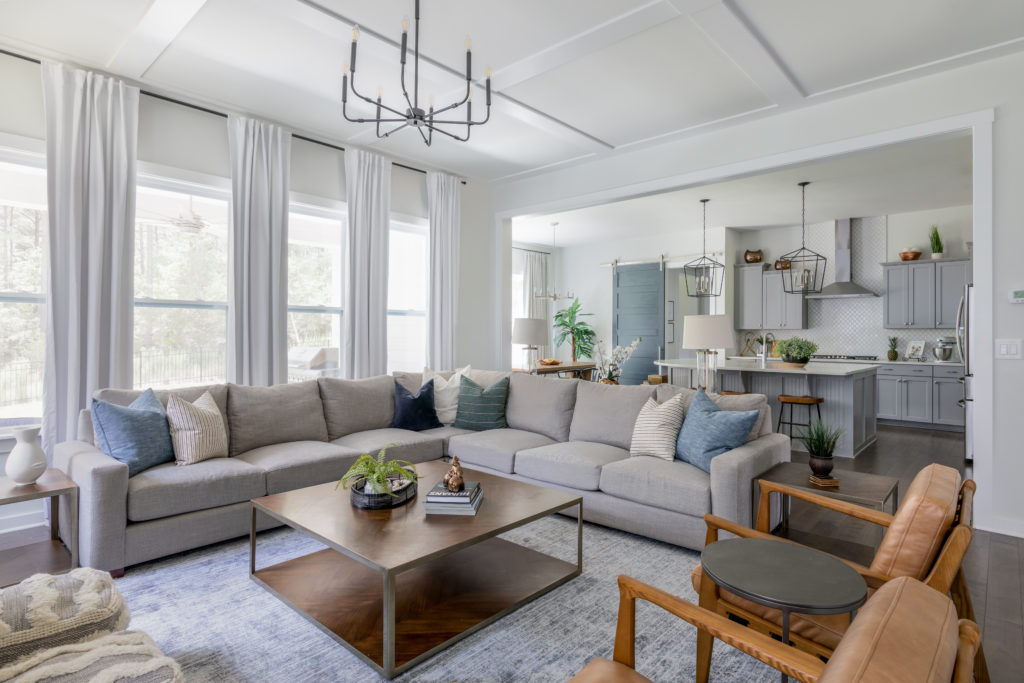
When I say it controls the depth of field, I mean this setting controls how much of the image is going to be in focus. When we are photographing portraits, we love seeing those crisps faces with blurry backgrounds. But real estate is the complete opposite. We want to see as much of the room clear and in focus as possible. This means we want to have our f stops at a high number. Now if you were a photography pro, we could get into the science behind how this works and all of the nitty gritty details. But the simple version is, you want to keep your aperture set to f8 or higher when photographing a real estate listing.
The best way to control this is to set your camera on Aperture mode (Av). If you leave your camera on this setting, you can choose your aperture and let the camera work it’s magic with the other settings.
ISO
ISO is the setting that controls how sensitive your camera sensor is to light. This is a very handy setting in low light situations but in Real Estate, we want to see this number relatively low. That may sound a little counter intuitive but the reason we want this number low is because there are usually multiple light sources in a single room (windows, can lights, etc) and we want to reduce as much glare as possible. If your ISO is too high, you may start to see bright areas of the room wash out or become hazy. Yuck!
I’ve found that leaving ISO between 125 and 250 gives you the right sensitivity to light without too much loss in the brighter areas.
Shutter Delay
You may notice I didn’t say Shutter Speed. While shutter speed is the final setting in the camera trifecta, it’s the setting that gets decided dead last, after the other two are in place. This means that shutter speed is usually very slow to compensate for Aperture and ISO. This is perfectly fine because shutter speed is what “freezes motion” in a picture and when you’re photographing real estate, there should be no motion.
Unfortunately, you physically pressing the shutter button actually does introduce motion into the equation with camera shake. So I recommend you set your camera to a 2 second delay. This gives you plenty of time to press the shutter button and your camera to get over any minuscule shake it experienced.
An alternative to this is to use a remote shutter control. This is a little remote you hold in your hand so you never have to touch your camera. Some cameras will even sync to your smartphone or tablet to be controlled that way! Regardless, you need to have some barrier between you and the camera, whether it is time or distance, to prevent that camera shake.
Need a photo checklist for your next listing?
White Balance
White Balance is something that can get super complicated if we let it. But the reality is, for most Realtors’ needs, you can leave white balance on auto. White balance is what makes the colors of an image render accurately and most cameras are really good at adjusting itself. If you decide an images looks to blue or green, you can always adjust in post processing really easily.
Shooting Mode
This setting seems pretty insignificant to most, but when it comes to memory space, it’s pretty relevant. When you’re shooting real estate, you don’t need three to four bursts of the same image. In fact, if your camera snaps multiple pictures each time, you may run out of storage fast! I keep my camera on “Single Shot” mode so that I take my one photo and I’m done. This is also super helpful in post processing when I don’t have multiple images of the same shot to sort through. Keep it simple and leave it on Single Shot.
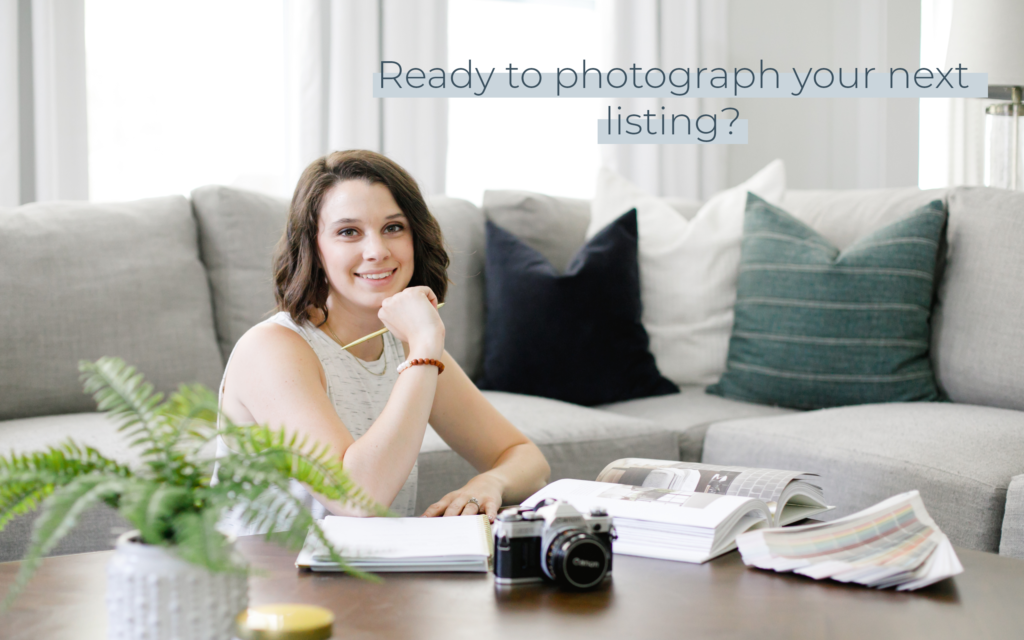
Ok! That’s really not that complicated is it? I hope not! But just in case, I’ve actually created a simple PDF file that you can print out and keep with you when you need reminders. I tell you exactly what to set your camera to (as outlined in this post) to get some amazing real estate photos!
DOWNLOAD THE CAMERA SETTING CHEAT SHEET
Now if you’ve got a handle on these settings, I’ve got some additional FREE resources for real estate agents like a photo checklist to make sure you get all of the shots you need, as well as a Sellers’ checklist because we’re all tired of taking pictures of yards that aren’t trimmed. You can find all of those on my Realtor’s Resource Page.
That’s it for now! Share below any questions you’ve got and I’ll love to share my answers!
-Krista
Want to learn more basics of photography?
I’m a freelance real estate photo editor from India, We specialize in high-quality, low-cost image editing tailored for real estate professionals worldwide.
Real estate photo editing HDR Imges price 0.40usd
Single Img 0.25 usd
Dm Po*************@***il.com
Work samples
https://www.dropbox.com/scl/fo/cpt82lfktrqxlm3ou5d7n/AO1KrW479vV7ZcWv8jv3DMg?rlkey=6jsug4ets1ject2flsl4eptm3&st=ghoel2tq&dl=0