As an Amazon Associate I earn from qualifying purchases.
Calling all Realtors and Designers!!! Today I’m putting together a quick list of small yet impactful tips for staging a room. While an emtpy room can show the space effectively, a few simple additions can really take a space from drab to fab in heartbeat.
Now these first few are coming from the approach that the house is completely blank. Let’s say it’s a vacant real estate listing or brand new construction. But read on to see little tweaks that can be done to something that’s already furnished.
1) If it’s empty, put something there!
Having just gone through the home buying process myself, I found that houses that had furnishings looked way bigger and homier than those that were empty. This will hold true in photographs as well. They’ll be more interesting and the viewers/clients will be able to visualize themselves in the space more easily. You can use companies like Rent-A-Center but I’d recommend reaching out to local furniture companies for a collaboration. If you’re starting completely from scratch, a professional stager would be able to get you great results for a short amount of time.
You only need the furniture for photos and potentially the first 1-2 weeks when the listing is most active.
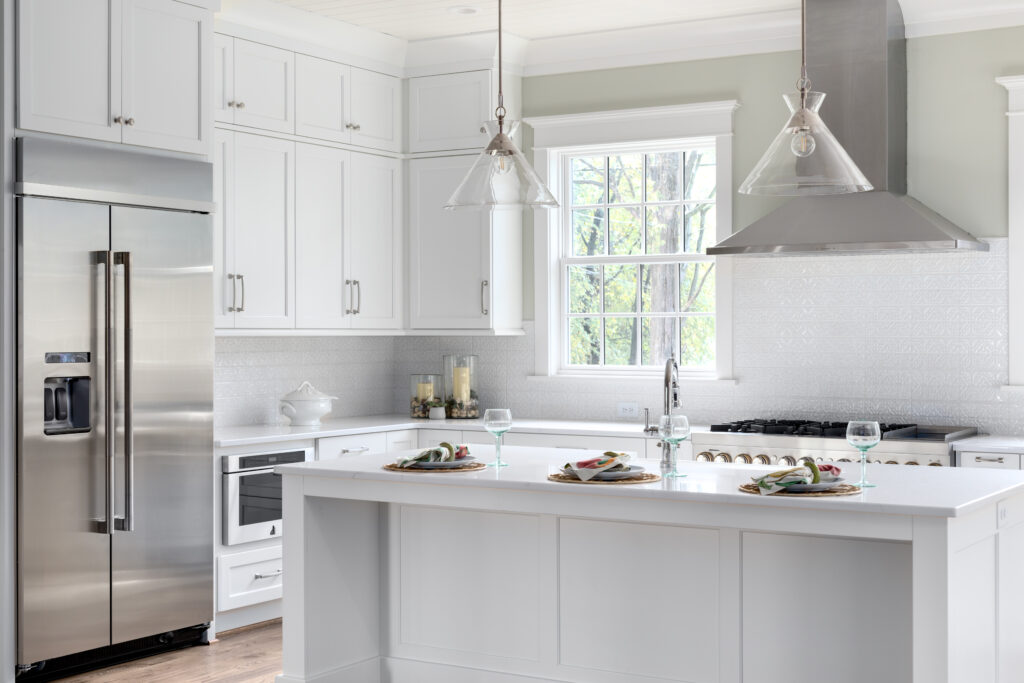
2) Turn the lights on
Ok, this one may come down to the photographer’s preference but for real estate photos, I like to have lights on in the room. If you’ve got an all white, super airy, design then you can definitely get away with no lights but turning just a few on makes it feel like someone’s home. I’ve also found that having the lights on makes it easier to compose an image that will show the windows better. The light meter likes it when there’s just as much light in the room as is coming through the windows. Plus, I really love how a lamp can create a soft glow in one spot of the room.
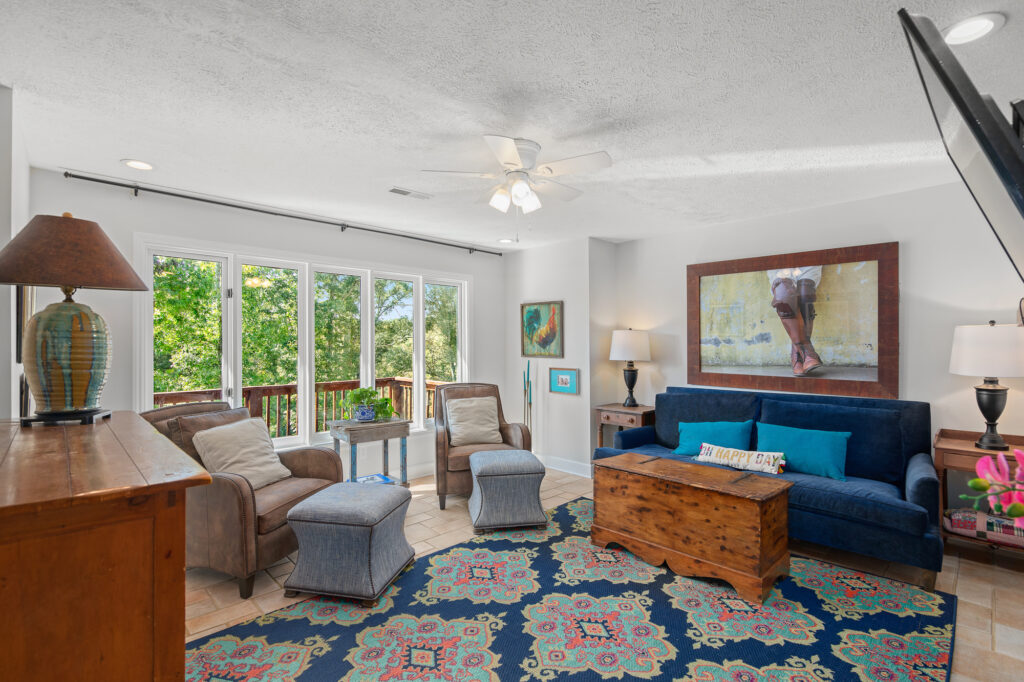
3) Add a couple of pillows
It’s amazing what a couple of pillows can do for a sofa. It creates visual interest, emphasizes color in other parts of the room, and makes you want to plop down on the couch!
**Also, amazon has a really awesome selection of affordable throw pillows. I recommend checking these out**
4) Have a throw blanket over the arm
Just like pillows, throw blankets are a super way to add texture and coziness to a space. Lay it casually over the arm of a sofa or chair for that, “just sat on it” feel.
**Again, Amazon takes the cake! Here are a few throw blankets that are super easy to incorporate into a shot.
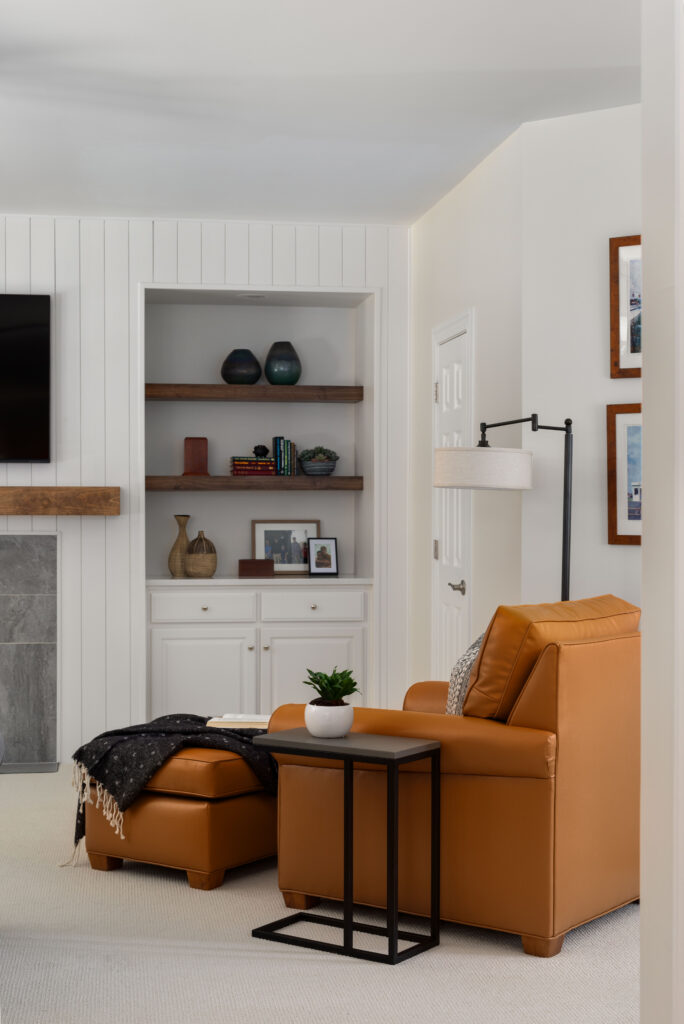
5) Stack some books on the table
This is one of the easiest solutions! Everybody loves the idea of a reading through a book. Try putting two or three of varying sizes, on the side table or coffee table.
Is your bookshelf covered in a rainbow of book spines? Try turning the books around so the pages face outward. It creates uniformity and texture.
6) Place Settings on the dining area
The best way to spruce up a kitchen or dining table is to add place settings or dishes! Coffee cups with a newspaper are a great touch in a breakfast nook. On dining tables, try layering plates on top of chargers with napkins neatly folded on top. For that classy look, stick with all white dishes. They’ll work in any space.
7) Use double comforters to add poof to the bed.
Have you ever noticed how big and fluffy the bedding is in the store? And then when you get home yours falls flat? Here’s the secret… for staging purposes, stores will add one or two additional comforters under their top comforter (eep!). Give it a go in your next bedroom. And while you’re at it, toss another throw over the foot of the bed!
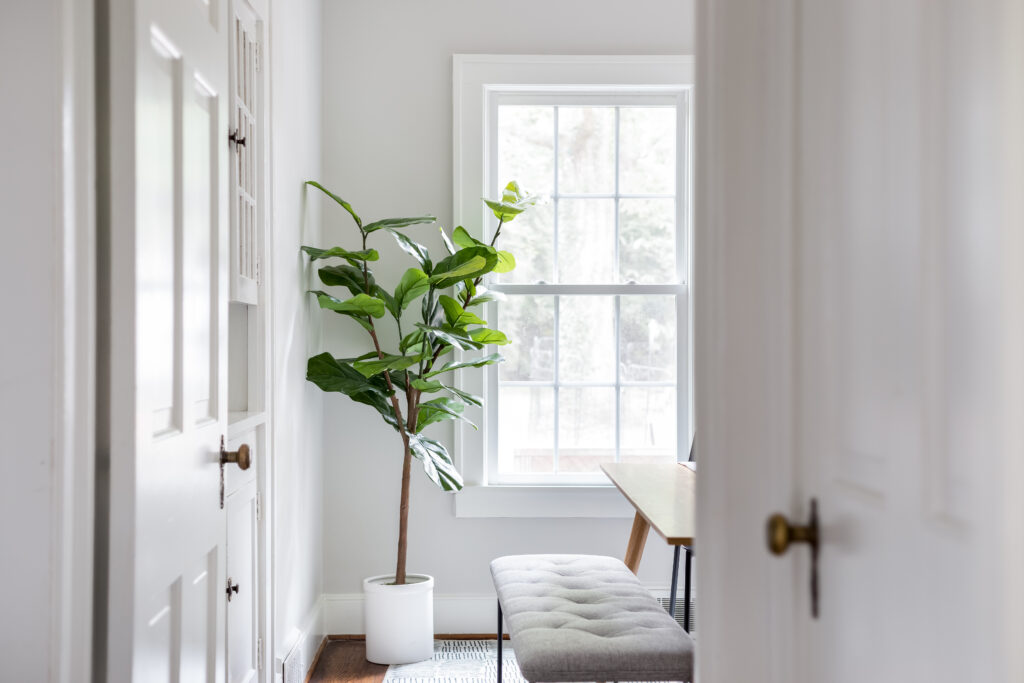
8) Don’t forget the greenery
We all love the fiddle leaf figs! Staging a room with plants will help it feel fresh and organic. They will also bring in a pop of color and can be used to fill up empty space. Don’t forget small plants can have a big impact as well.
9) Mix large and small items
This is especially useful if you need something on a shelf or coffee table. Pairing items of different scales can bring visual interest and balance to a design.
10) Watch the windows
Probably the bane of any photographer’s existence is window lighting. When staging, it’s helpful to have window treatments ready to go (and possibly be used) for when the photographer arrives. There is a good chance you’ll be adjusting window treatments a lot!
That wraps up my 10 Tips For Staging A Room For Photography. Whether you are the actual photographer or a realtor, keep these ideas in mind and see what a big difference it can make!
If you’re a Real Estate Photographer and want more ways to prepare a home for photography, I’m giving away my Seller’s Checklist that my agents give homeowners before I show up. It’s a simple (not overwhelming) checklist for homeowners that eliminates a lot of those little things we have to do before hitting the shutter button…and it’s totally free!
Want more? Check out my must-read on knowing when to shoot straight on vs at an angle.